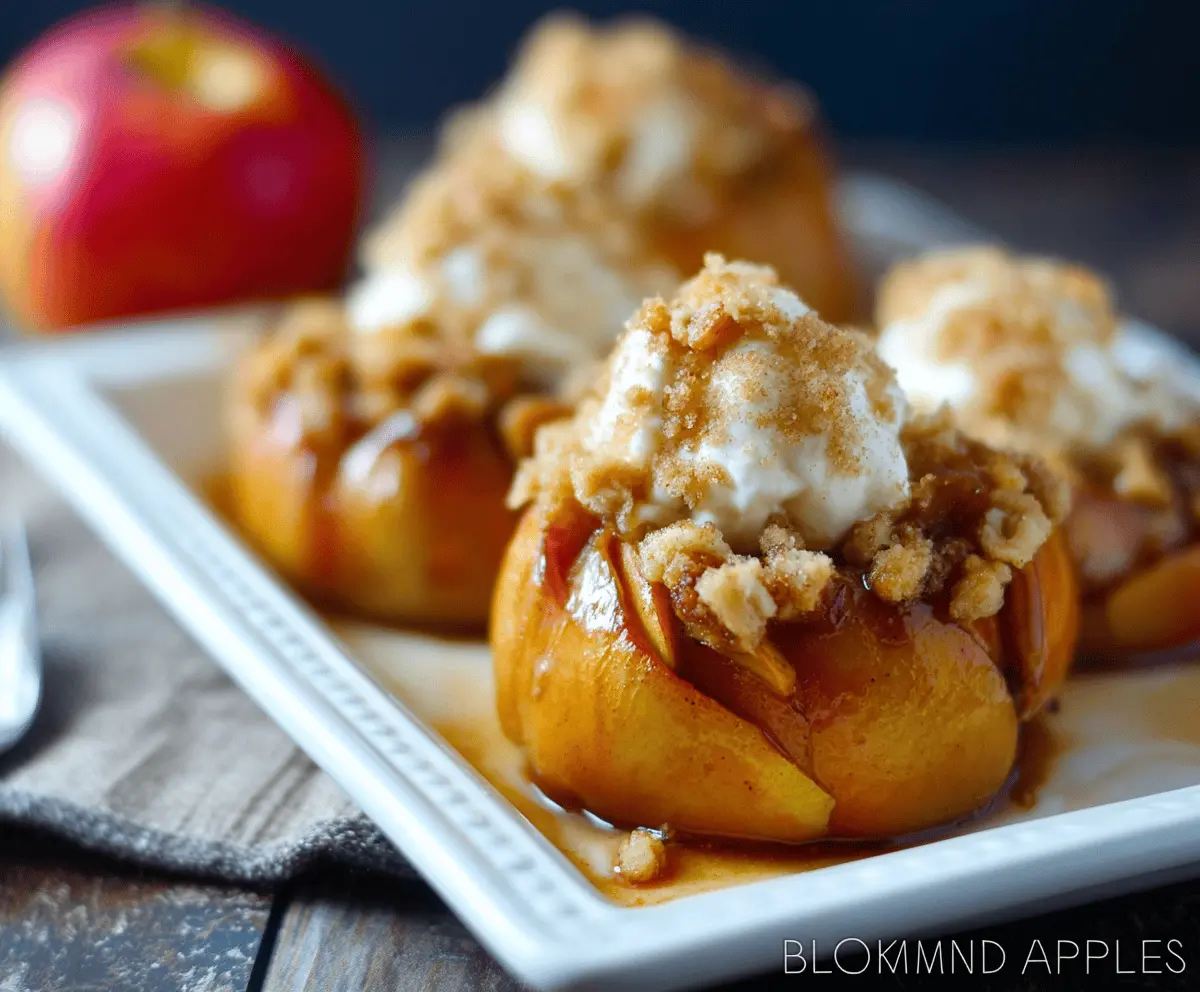
Baked Bloomin’ Apples are the perfect warm treat! These sweet apples are cored, filled with yummy spices, and baked until they are soft and fragrant. Yum!
Watching these apples bloom in the oven is like magic! I love serving them with a scoop of ice cream on top—it’s a cozy way to enjoy a chilly evening. 🍏✨
Key Ingredients & Substitutions
Baking Apples: Choose medium-sized apples like Honeycrisp, Gala, or Fuji for their perfect balance of sweetness. If you prefer other varieties, Granny Smith adds a tart kick while Golden Delicious gets soft and sweet.
Nuts: I love using walnuts or pecans for crunch, but if you’re nut-free, feel free to substitute with seeds like pumpkin or sunflower seeds. They still add texture without the allergens!
Oats: Old-fashioned rolled oats work best, but quick oats can be used in a pinch. Just keep in mind they’ll cook faster, which may slightly change the texture.
Brown Sugar: Light brown sugar is my go-to for that rich flavor, but dark brown sugar adds even more depth. If you need it to be sugar-free, you can try coconut sugar or maple syrup instead.
What’s the Key to Making Apples Bloom Beautifully?
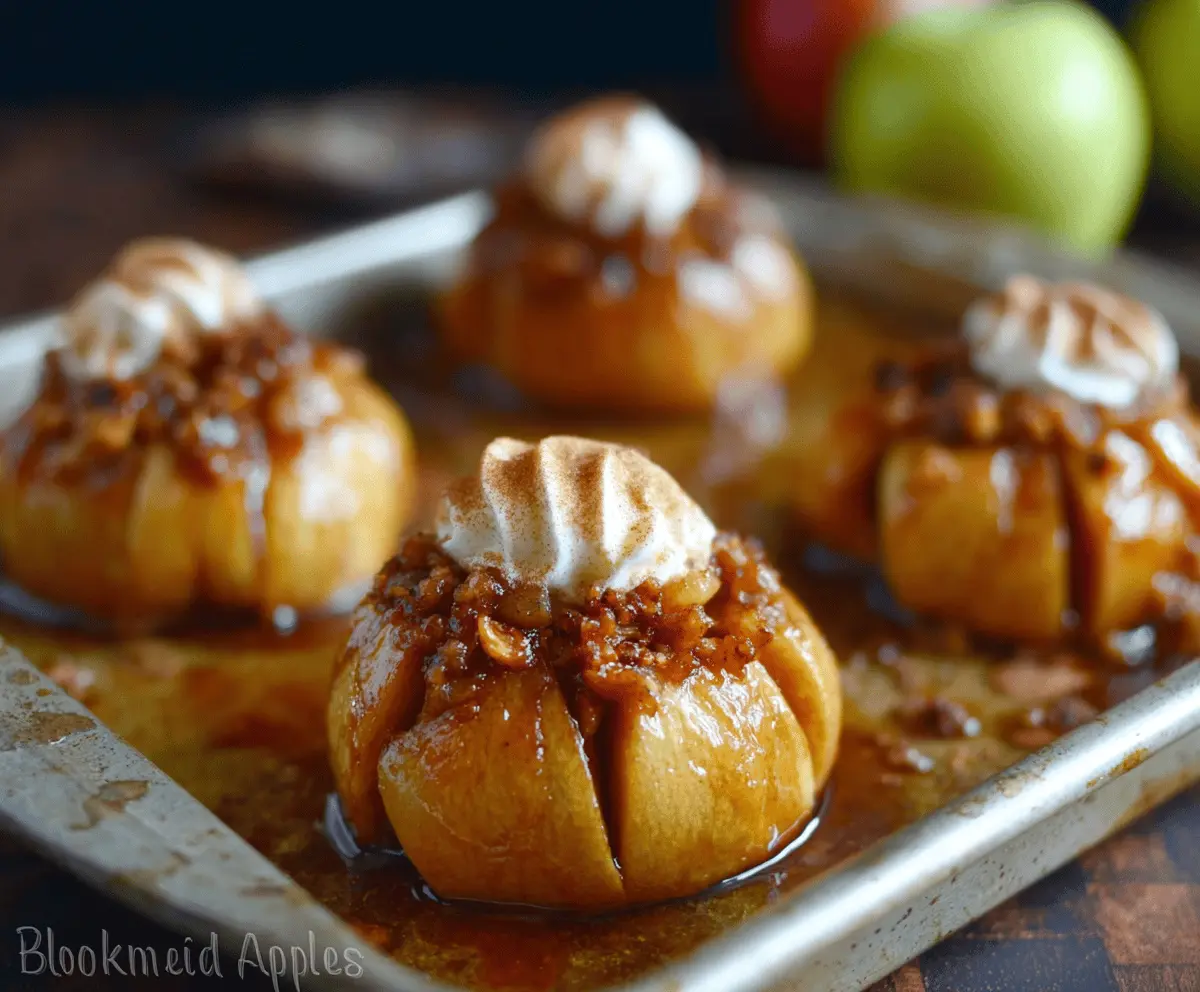
The technique for getting the apples to bloom beautifully is all about cutting them correctly. When you core the apples, do it gently leaves a solid base that helps hold the shape. Making the vertical cuts around the apple helps them open up in the oven.
- Core the apple carefully from the bottom, making sure not to cut through the top.
- Make vertical cuts about 1 inch apart, going about 3/4 of the way down. This creates spaces for the filling to peek through.
- When they bake, the heat makes the apple expand, and those cuts allow it to bloom beautifully.
Also, don’t skip adding water to the bottom of the pan. It keeps the apples moist while baking and enhances their natural flavors.
How to Make Baked Bloomin’ Apples
Ingredients You’ll Need:
For The Apples:
- 4 medium-sized baking apples (like Honeycrisp, Gala, or Fuji)
For The Filling:
- 1/2 cup chopped walnuts or pecans
- 1/4 cup old-fashioned rolled oats
- 1/4 cup light brown sugar, packed
- 1 teaspoon ground cinnamon
- 1/4 teaspoon ground nutmeg
- 2 tablespoons unsalted butter, melted
- 1/2 teaspoon vanilla extract
- Juice of 1/2 lemon
For Serving:
- Optional: whipped cream or vanilla ice cream
How Much Time Will You Need?
This recipe takes about 15 minutes to prepare, plus 35-45 minutes for baking. In total, you’re looking at a little over an hour. You’ll have a warm, fragrant dessert ready to enjoy in no time!
Step-by-Step Instructions:
1. Prepare the Oven and Baking Dish:
Preheat your oven to 350°F (175°C). Lightly grease a baking pan or line it with parchment paper. This makes for easier cleanup after baking!
2. Core the Apples:
Wash and dry the apples. Using a sharp knife, carefully core the apples from the bottom. Cut a small circle about 1 1/2 inches in diameter, but don’t cut all the way through to the top. This will keep the apples intact while they bake.
3. Make the Bloomin’ Cuts:
Starting from the cored area, make vertical cuts about 1 inch apart around each apple, going about 3/4 of the way down. This will allow the apple to bloom or open slightly when baked, revealing the delicious filling inside.
4. Mix the Filling:
In a medium bowl, combine the chopped nuts, rolled oats, brown sugar, cinnamon, nutmeg, melted butter, vanilla extract, and lemon juice. Stir everything until well combined to create your yummy filling.
5. Stuff the Apples:
Gently open the apple slices and stuff the filling mixture into the center and slightly between the slices. Pack it in there to get all that flavor!
6. Bake the Apples:
Place the stuffed apples in your prepared baking pan. Pour about 1/4 cup of water into the bottom of the pan. This helps steam the apples and keep them juicy while they bake.
7. Check for Doneness:
Bake the apples for 35-45 minutes. You’re looking for tender apples and a golden-brown topping. The apples will bloom beautifully as they bake!
8. Cool and Serve:
Once baked, remove them from the oven and let them cool slightly before serving. Top each baked apple with a dollop of whipped cream or scoop of vanilla ice cream, if desired.
9. Enjoy Your Treat:
Serve warm and enjoy your cozy Baked Bloomin’ Apples! They’re perfect for fall gatherings or any time you’re craving a warm dessert.
This delightful dish is not only beautiful but also packed with flavors and aromas that are sure to impress family and friends!
Can I Use Different Types of Apples?
Absolutely! While Honeycrisp, Gala, and Fuji are great choices for baking, you can also try Granny Smith for a tart flavor or Golden Delicious for extra sweetness. Just ensure they’re firm for the best results!
How Can I Make This Recipe Gluten-Free?
To make the recipe gluten-free, simply substitute the old-fashioned rolled oats with certified gluten-free oats. You can also ensure that your brown sugar and nuts are gluten-free as well!
Can I Prepare These Apples Ahead of Time?
Yes! You can core and cut the apples ahead of time. Just sprinkle them with a bit of lemon juice to prevent browning and cover them tightly in the fridge until you’re ready to bake. It’s best to fill them right before baking for optimal freshness!
What’s the Best Way to Store Leftover Baked Bloomin’ Apples?
Store any leftovers in an airtight container in the fridge for up to 3 days. To reheat, place them in a warm oven at 350°F (175°C) for about 10 minutes or microwave them for about 30 seconds until warmed through.