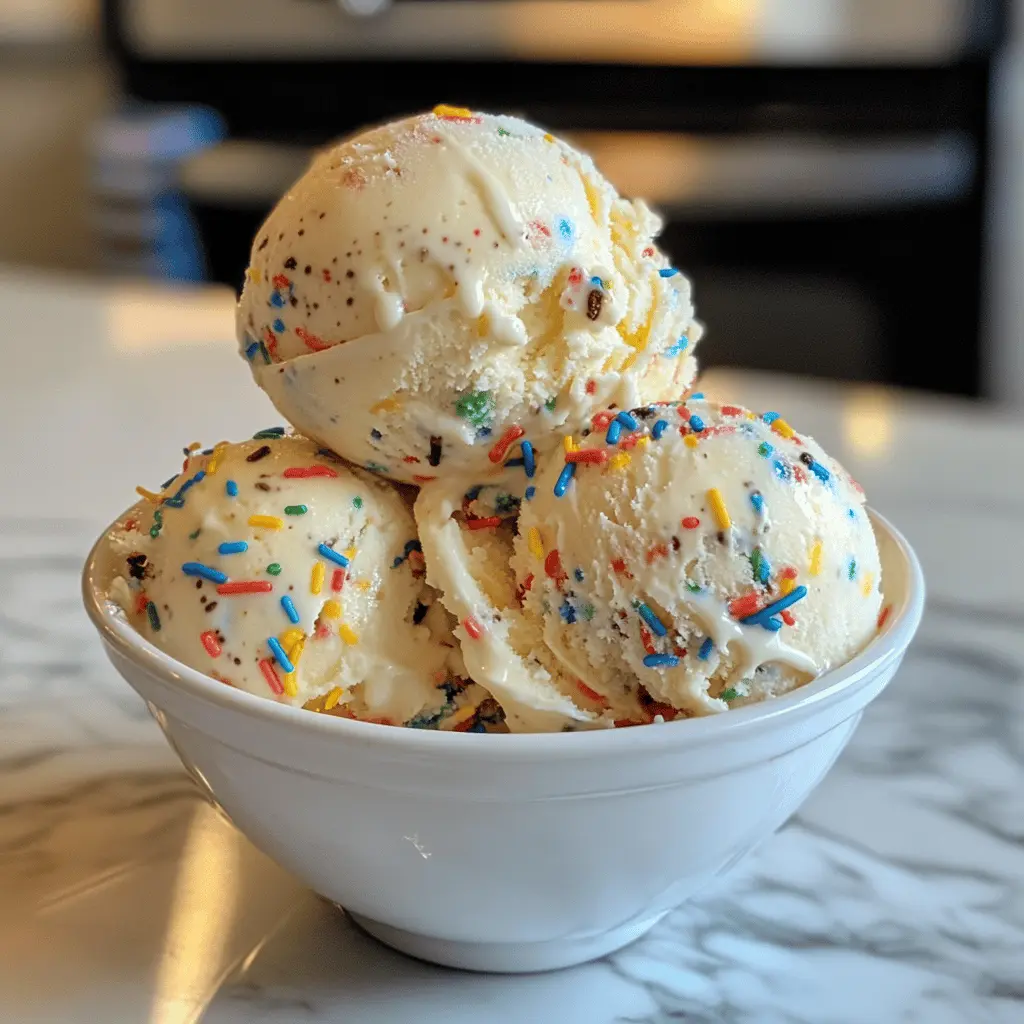
This fun birthday cake ice cream is a colorful treat! It’s creamy and packed with pieces of cake and sprinkles, perfect for any celebration—yes, even your Wednesday night dinner!
I love making this ice cream because it’s so easy to whip up at home. Just mix your ingredients, toss in some cake bits, and freeze. Everyone will be asking for seconds, trust me!
Key Ingredients & Substitutions
Heavy Whipping Cream: This is essential for a rich and creamy texture. If you’re looking for a lighter option, you can replace half with half-and-half or whole milk, but the creaminess will reduce.
Whole Milk: It adds creaminess too! If you’re dairy-free, use almond milk or coconut milk but be mindful of flavor differences.
Granulated Sugar: It sweetens the ice cream perfectly. For a healthier option, you might use coconut sugar or even sweeteners like agave nectar—just adjust the amount accordingly.
Vanilla Extract: This gives a lovely flavor. If you’re out, you can use imitation vanilla for a similar taste, but the pure stuff is always best for flavor.
Rainbow Sprinkles: They’re a must for that fun birthday cake vibe! You can switch these for chocolate chips, crushed cookies, or dried fruit if you prefer. Just keep in mind that the cake texture and sweetness can vary.
Birthday Cake Pieces: Feel free to use any leftover cake or store-bought cake. A pound cake or any vanilla-based cake works well if you don’t have funfetti.
How Do You Achieve the Perfect Ice Cream Consistency?
Making ice cream at home can be tricky, but here are some tips for achieving that perfect creamy consistency:
- Ensure all ingredients are cold before mixing. This helps the ice cream churn better.
- Keep an eye on it as it churns! Stop the machine when the ice cream reaches a soft-serve texture.
- Mix in your add-ins like sprinkles and cake pieces just before it’s done churning.
- After transferring it to a container, smooth the top and press a piece of parchment paper on the surface before freezing. This helps prevent ice crystals from forming.
Let your ice cream freeze thoroughly for a few hours to get that solid scoopable texture.
How to Make Easy Homemade Birthday Cake Ice Cream
Ingredients You’ll Need:
- 2 cups heavy whipping cream
- 1 cup whole milk
- 3/4 cup granulated sugar
- 1 tablespoon pure vanilla extract
- 1/2 teaspoon almond extract (optional, for extra flavor)
- 1 cup rainbow sprinkles (jimmies style)
- 1 cup birthday cake pieces or funfetti cake crumbs (store-bought or homemade)
How Much Time Will You Need?
This delightful homemade birthday cake ice cream will take about 10 minutes of preparation time, plus approximately 20-25 minutes to churn in an ice cream maker, and then you’ll need to freeze it for at least 3-4 hours until it’s firm. So, in total, plan for a fun-filled day of ice cream magic!
Step-by-Step Instructions:
1. Combine the Base Ingredients:
In a large mixing bowl, start by mixing together the heavy whipping cream, whole milk, granulated sugar, vanilla extract, and almond extract if you’re using it. Whisk everything together until the sugar is fully dissolved and the mixture is creamy and smooth. This is the base of your ice cream, so whisk well!
2. Churn the Ice Cream:
Now it’s time for the fun part! Pour the creamy mixture into your ice cream maker. Follow the manufacturer’s instructions for churning. Usually, it takes about 20-25 minutes for the ice cream to reach a soft-serve consistency. You can sit back and relax while it churns!
3. Add the Fun Mix-Ins:
As the ice cream is finishing up its churn, gently stir in the rainbow sprinkles and pieces of birthday cake. Make sure the ice cream maker mixes them in nicely, so you get those tasty bits in every scoop!
4. Freeze for Firmness:
Transfer the ice cream into an airtight container. Smooth the top with a spatula and cover it tightly. Place it in the freezer for at least 3-4 hours, or until the ice cream is firm. This step is key to getting the right scoopable texture!
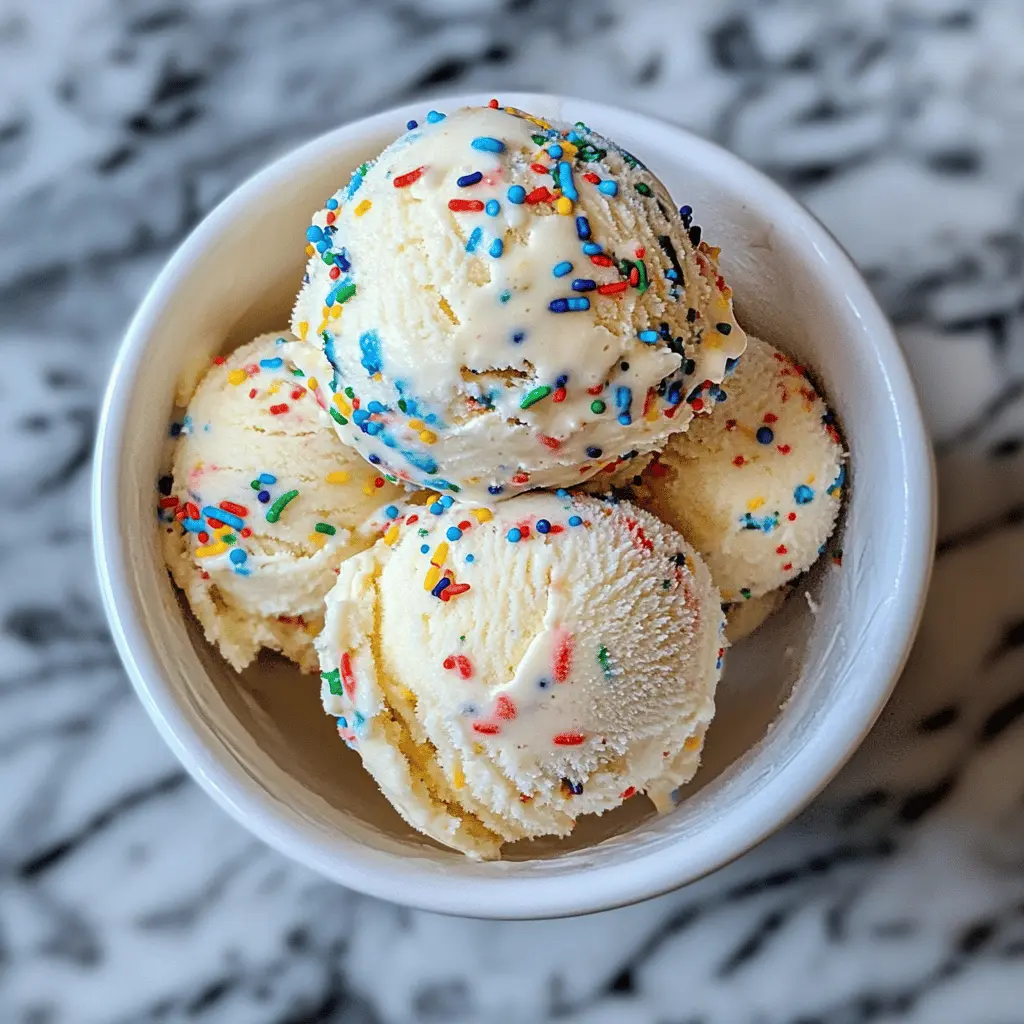
5. Serve and Enjoy!
When you’re ready to indulge, scoop your homemade birthday cake ice cream into bowls or cones. You can top it with extra sprinkles for a festive touch. Enjoy every colorful, creamy bite!
This delightful birthday cake ice cream is sure to bring smiles and celebrations, any day of the week! Enjoy your delicious creation!
Frequently Asked Questions (FAQ)
Can I Use a Different Type of Milk?
Absolutely! If you’re looking for a lighter option, you can replace whole milk with almond milk, coconut milk, or oat milk. Just remember that using non-dairy options may slightly change the flavor and texture.
How Should I Store Leftover Ice Cream?
Store any leftover ice cream in an airtight container in the freezer. It’s best consumed within 2-3 weeks for optimal freshness. To avoid ice crystals, smooth the surface and consider placing a layer of parchment paper on top before sealing.
Can I Make This Without an Ice Cream Maker?
Yes, you can! Simply mix the ingredients as directed, then pour the mixture into a freezer-safe container. Stir the mixture every 30-40 minutes for the first 2-3 hours to break up ice crystals until it’s fully set.
How Do I Make This Ice Cream Dairy-Free?
To make a dairy-free version, substitute the heavy cream and whole milk with full-fat coconut milk or any other non-dairy milk. Adjust the sugar as needed since some non-dairy milks can be sweeter than regular milk.
Feel free to refer back here if you have any other questions while making your delicious birthday cake ice cream!