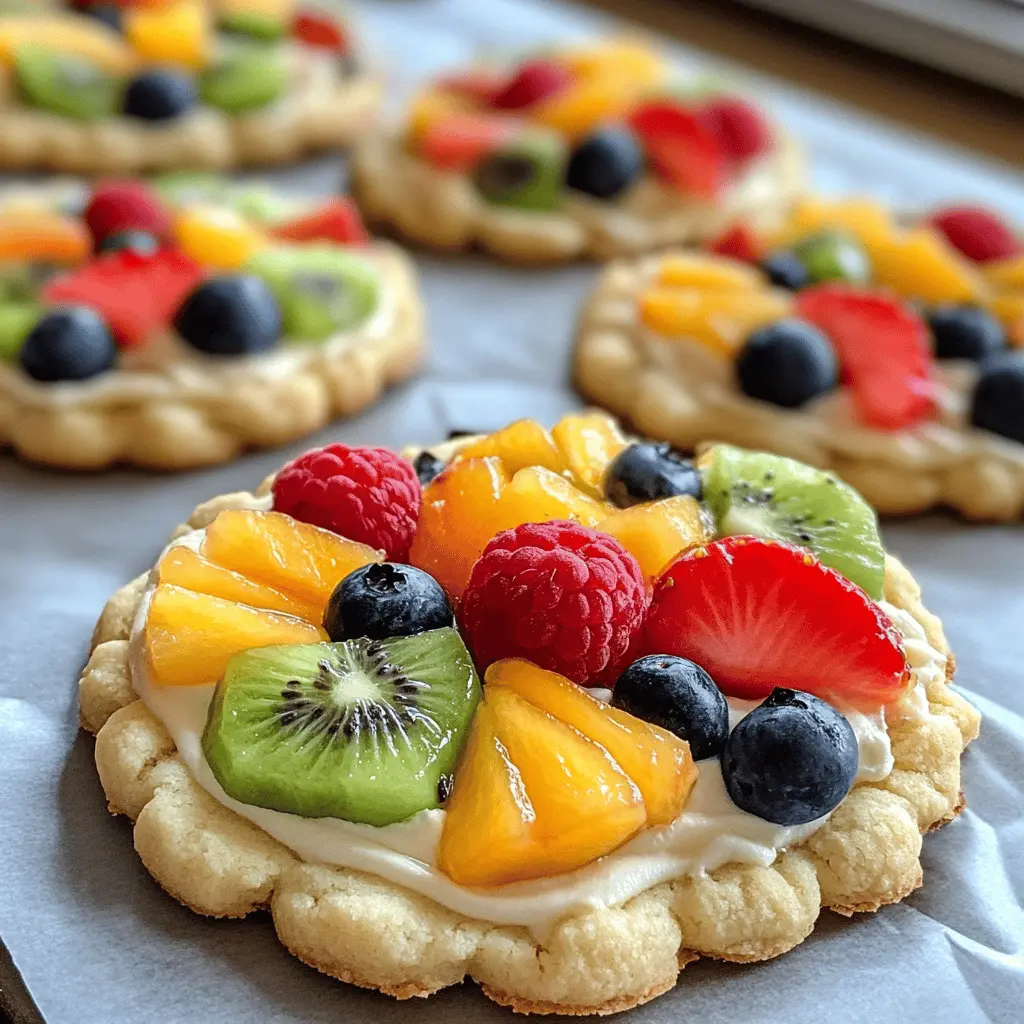
Fruit pizza cookies are a fun treat that combines a soft, sweet cookie crust with a creamy frosting and colorful fruit toppings. They look as good as they taste!
These cookies are perfect for parties or a quick snack. I love letting the kids pick their favorite fruits to top them—talk about a delicious art project! 🍓🍌
Key Ingredients & Substitutions
All-Purpose Flour: This is the base for your cookies. If you’re looking for a healthier option, consider using whole wheat flour. Just note that it might change the texture a bit, so keep an eye on the baking time.
Butter: Unsalted butter gives you control over the saltiness. You can swap it with coconut oil or vegan butter for a dairy-free version. Just make sure it’s softened to create that fluffy texture.
Cream Cheese: This is essential for the spread on your cookies. If you’re looking for a lighter option, mascarpone or Greek yogurt works well too, though the flavors will vary slightly.
Whipped Cream: You can use heavy cream or Cool Whip, but if you’re aiming for a lower calorie pick, opt for light whipped topping. Homemade whipped cream is also a delicious choice if you have the time!
Fresh Fruits: Use whatever is in season! Strawberries, blueberries, and raspberries are popular choices, but feel free to mix in peaches, bananas, or even some sliced stone fruits for variety.
How Do I Ensure My Cookies Bake Evenly?
Getting evenly baked cookies requires a few tricks. Start by spacing them out on the baking sheet so they have room to expand. This helps them cook evenly. Here’s how to do it:
- Use parchment paper to prevent sticking and allow for easy clean-up.
- Flatten the dough balls slightly before baking. This ensures they spread out evenly.
- Rotate the baking sheet halfway through baking. This helps with any hot spots in your oven.
- Let cookies cool completely on a wire rack. This keeps them from becoming soggy.
How to Make Fruit Pizza Cookies
Ingredients You’ll Need:
For the Cookie Base:
- 1 cup all-purpose flour
- 1/2 cup granulated sugar
- 1/2 cup unsalted butter, softened
- 1 large egg
- 1 teaspoon vanilla extract
- 1/2 teaspoon baking powder
- 1/4 teaspoon salt
For the Cream Cheese Layer:
- 1 cup cream cheese, softened
- 1/4 cup powdered sugar
- 1/2 cup whipped cream (or cool whip)
For the Toppings:
- Assorted fresh fruits (e.g., strawberries, blueberries, raspberries, kiwi, mandarin oranges)
- 1/4 cup honey or maple syrup (optional for drizzling)
How Much Time Will You Need?
This recipe takes about 15 minutes of prep time and around 12 minutes of baking. You’ll need to allow time for the cookies to cool completely before adding the cream cheese mixture and fruit, so plan for about 40 minutes total. It’s a fun and delicious treat that’s worth the wait!
Step-by-Step Instructions:
1. Preheat and Prepare:
First, preheat your oven to 350°F (175°C). While your oven is heating up, line a baking sheet with parchment paper. This will make it easier to remove the cookies later.
2. Creaming the Butter and Sugar:
In a mixing bowl, cream together the softened butter and granulated sugar. Use an electric mixer or a whisk to mix them until the mixture is light and fluffy. This usually takes about 2-3 minutes.
3. Mixing Wet Ingredients:
Add in the egg and vanilla extract to the butter mixture. Continue mixing until everything is well combined and smooth.
4. Whisking the Dry Ingredients:
In a separate bowl, whisk together the flour, baking powder, and salt. Mixing the dry ingredients separately helps ensure they are evenly distributed.
5. Combine Wet and Dry Ingredients:
Gradually add the dry mixture to the wet mixture, stirring gently until just combined. Be careful not to overmix; you want your cookies to be soft and tender!
6. Forming the Cookies:
Using a tablespoon or a cookie scoop, drop dough onto the prepared baking sheet. Flatten each ball slightly to form a nice round shape for the cookies. Make sure to leave some space between them since they will spread while baking!
7. Baking the Cookies:
Bake in the preheated oven for 10-12 minutes, or until the edges are lightly golden. Once they are done, allow them to cool completely on a wire rack or on the baking sheet.
8. Preparing the Cream Cheese Layer:
While your cookies are cooling, you can prepare the cream cheese layer. In a bowl, whip together the softened cream cheese and powdered sugar until the mixture is smooth and creamy.
9. Assembling Your Cookies:
Once the cookies are completely cool, spread a generous layer of the cream cheese mixture over the top of each cookie. Try to cover them evenly for the best taste!
10. Adding Fresh Fruit:
Now, it’s time to decorate! Arrange your assorted fresh fruits on top of the cream cheese layer to make them look colorful and inviting. You can get creative here; mix and match your fruits!
11. Drizzling (Optional):
If you like a little extra sweetness, drizzle honey or maple syrup over the top of the fruit. This step is totally optional but adds a nice touch!
12. Enjoy!
Your delightful fruit pizza cookies are now ready to be served! Enjoy them right away for the best flavor and freshness. They’re perfect for sharing with family and friends!

Can I Use Whole Wheat Flour Instead of All-Purpose Flour?
Yes, you can substitute whole wheat flour for all-purpose flour, but keep in mind that the texture might be denser. If you want a lighter cookie, consider using a mix of half whole wheat and half all-purpose flour.
How Can I Make These Cookies Dairy-Free?
To make dairy-free fruit pizza cookies, substitute the butter with a dairy-free butter alternative and use a dairy-free cream cheese. For the whipped cream, opt for a non-dairy whipped topping. Just make sure to check the labels!
Can I Use Frozen Fruit as Toppings?
While fresh fruit is recommended for the best flavor and texture, you can use frozen fruit. Make sure to thaw and drain them thoroughly to remove excess moisture before using them on your cookies.
How Do I Store Leftover Cookies?
Store leftover cookies in an airtight container in the refrigerator for up to 3 days. Keep in mind that the fruit may not stay fresh as long, so it’s best to add it just before serving if you plan to store them for a day or more.