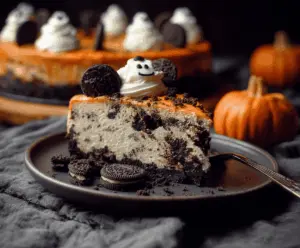
Get ready for a spooky treat with this Halloween Cookies and Cream Cheesecake! It’s creamy and packed with yummy chocolate cookies for a fun twist.
Who can resist a cake that looks festive and tastes amazing? I love serving it to guests and watching their faces light up when they hear it’s cheesecake! 🎃
This cheesecake is easy to whip up—just mix, bake, and chill. Perfect for Halloween parties or a tasty family dessert night. Enjoy every spooky bite!
Key Ingredients & Substitutions
Oreo Cookies: These chocolate cookies give a great flavor and texture! If you prefer, you could substitute with chocolate wafer cookies or gluten-free chocolate cookies.
Cream Cheese: The base of the cheesecake. Make sure it’s softened for easy mixing. If you’re looking for a lighter option, consider using ricotta cheese for a different texture!
Sour Cream: This adds creaminess and a slight tang. Greek yogurt can be a great substitute if you’re looking for something healthier — just make sure it’s plain.
Heavy Whipping Cream: Vital for making the whipped topping light and fluffy. If you want a lower-fat version, you can use whipping cream instead, but it won’t be quite as rich.
How Can You Ensure Your Cheesecake is Baked Perfectly?
Baking cheesecake can be tricky, but here are some tips to get it just right:
- **Water Bath Method:** For a creamier texture and even baking, place your springform pan inside a larger baking dish filled with water. This helps prevent cracking.
- **Check for Doneness:** It should be set around the edges but still slightly jiggly in the center. It will continue to set as it cools!
- **Cool Gradually:** Letting it sit in the oven (after turning it off) allows it to cool slowly, reducing the chances of cracks.
With these simple tips, your Halloween Cookies and Cream Cheesecake will be a hit! Enjoy baking and celebrating!
Halloween Cookies and Cream Cheesecake
Ingredients You’ll Need:
For the Crust:
- 24 Oreo cookies (divided: 18 crushed + 6 whole for decoration)
- 6 tbsp unsalted butter, melted
For the Cheesecake Filling:
- 24 oz (680g) cream cheese, softened
- 1 cup granulated sugar
- 1 cup sour cream
- 3 large eggs
- 1 tsp vanilla extract
- Orange food coloring (gel or liquid)
For the Whipped Cream and Decoration:
- 1 cup heavy whipping cream
- 2 tbsp powdered sugar
- Black decorating gel or melted chocolate for ghost face decoration
Time Needed:
This recipe requires about 20 minutes of prep time, 50-60 minutes of baking time, and a chilling time of at least 4 hours or preferably overnight in the fridge. Overall, you’ll need to plan around 5 hours for chilling before serving.
Step-by-Step Instructions:
1. Preheat the Oven:
Start by preheating your oven to 325°F (163°C). Grease a 9-inch springform pan, and line the bottom with parchment paper for easy removal later.
2. Prepare the Crust:
Take 18 Oreos and crush them into fine crumbs. You can do this by placing them in a ziplock bag and rolling over them with a rolling pin. In a bowl, mix the crumbs with the melted butter until everything is well combined. Press this mixture firmly into the bottom of the springform pan to create a solid crust. Bake it for about 10 minutes, then take it out and let it cool.
3. Make the Cheesecake Filling:
In a large mixing bowl, beat the softened cream cheese until it’s nice and smooth. Gradually add in the sugar and continue to mix until everything is well combined. Add in the sour cream, and mix well. Then, add the eggs one at a time, making sure to mix well after each addition. Lastly, stir in the vanilla extract.
4. Color the Batter:
Gently fold in the 18 crushed Oreos you set aside earlier. Add a few drops of orange food coloring to the batter and mix until the color is evenly distributed throughout.
5. Bake the Cheesecake:
Pour the cheesecake batter over the cooled crust in the springform pan. Place it in the preheated oven and bake for about 50-60 minutes. The center should be nearly set but may still jiggle a little. Once it’s done, turn off the oven and let the cheesecake sit inside for an hour to cool slowly.
6. Chill the Cheesecake:
After the hour in the oven, take it out and let it cool completely on a wire rack. Then, refrigerate the cheesecake for at least 4 hours or overnight until it is fully set.
7. Prepare the Whipped Cream:
In a chilled mixing bowl, whip the heavy cream with powdered sugar until stiff peaks form. This will be your fluffy topping!
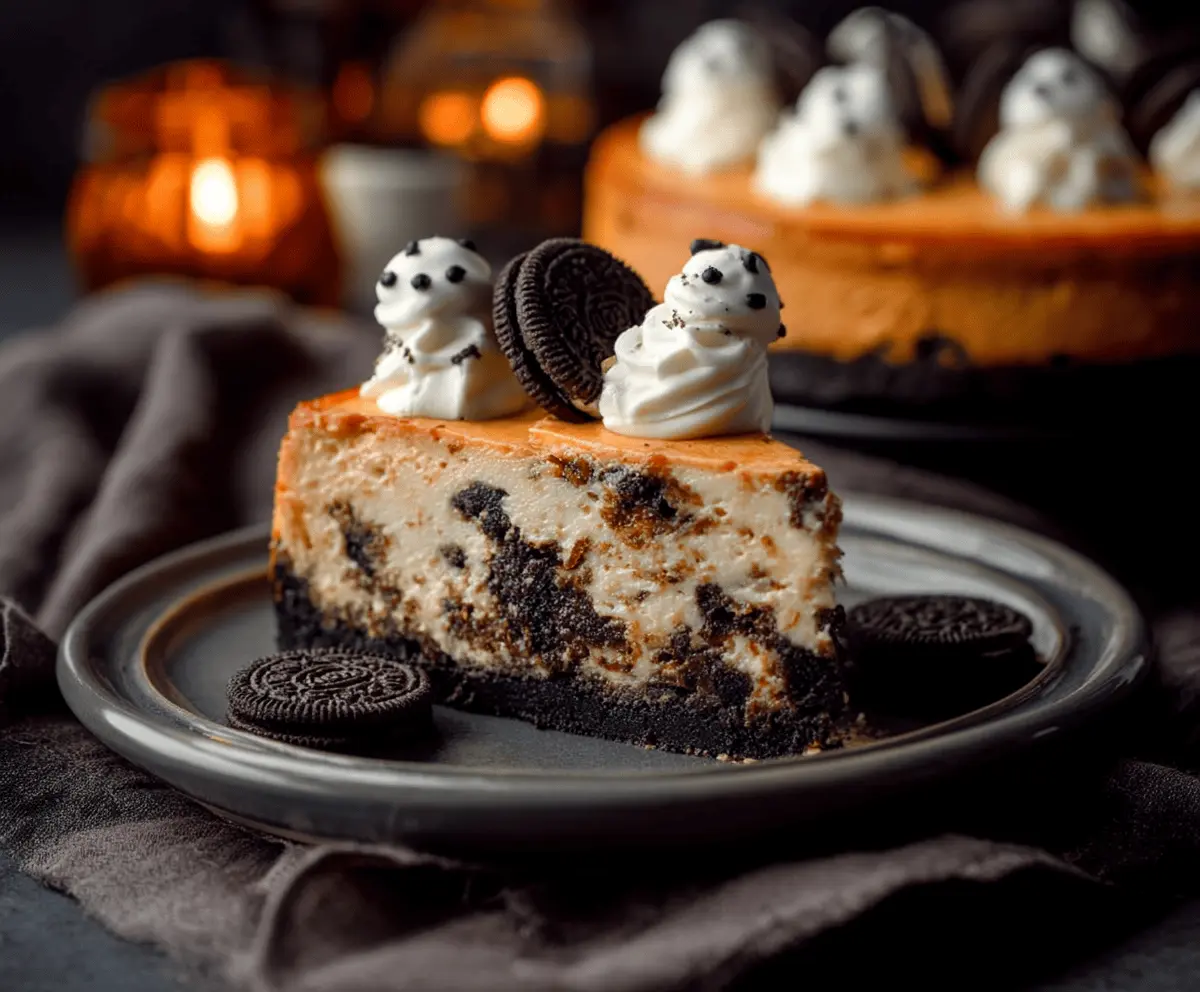
8. Decorate the Cheesecake:
Once the cheesecake is fully chilled, pipe dollops of whipped cream around the top edge of the cheesecake. Place the whole Oreo halves into the whipped cream as cute “ears.” Using black decorating gel or melted chocolate, draw little ghost faces on each whipped cream dollop for a fun Halloween touch.
9. Finish and Serve:
Sprinkle any reserved Oreo crumbs on top for added texture and a spooky look. Serve this festive cheesecake chilled and enjoy the delightful flavors!
Happy Halloween and enjoy your delicious Cookies and Cream Cheesecake!

Can I Use Low-Fat Cream Cheese or Sour Cream in This Recipe?
Yes, you can use low-fat cream cheese or sour cream for a lighter version of the cheesecake. However, keep in mind that this may slightly alter the texture and creaminess of the final product.
Can I Make This Cheesecake in Advance?
Absolutely! This cheesecake can be made up to 2 days in advance. Just make sure to cover it well with plastic wrap or foil once it’s set in the refrigerator.
How Should I Store Leftovers?
Store any leftover cheesecake in an airtight container in the refrigerator for up to 5 days. If you want to freeze leftovers, wrap individual slices tightly in plastic wrap and then place them in a freezer-safe container for up to 2 months. Thaw in the refrigerator before enjoying!
Can I Skip the Food Coloring?
Certainly! The food coloring is just for a festive look. If you prefer a classic cheesecake color, simply leave it out; it will still taste delicious!